Paid subscribers can jump down to the break.
Have you ever wondered how jewelry is made? Before I learned wax carving at FIT, I would marvel at the jewelry I found in Antique shops, and online, not understanding one bit of the process that went into crafting it.
I wanted to write this for those who have never made jewelry and are interested in learning about the process, or for those finally ready to dive into making their own pieces. In a way, I’m also writing this post for my past self, wishing that I had read this when I first started my jewelry-making journey.
Below is a reel I made a while back of the making of my Secret Cosmos ring to give a general overview of the lost-wax casting process.
STEP-1: DESIGN
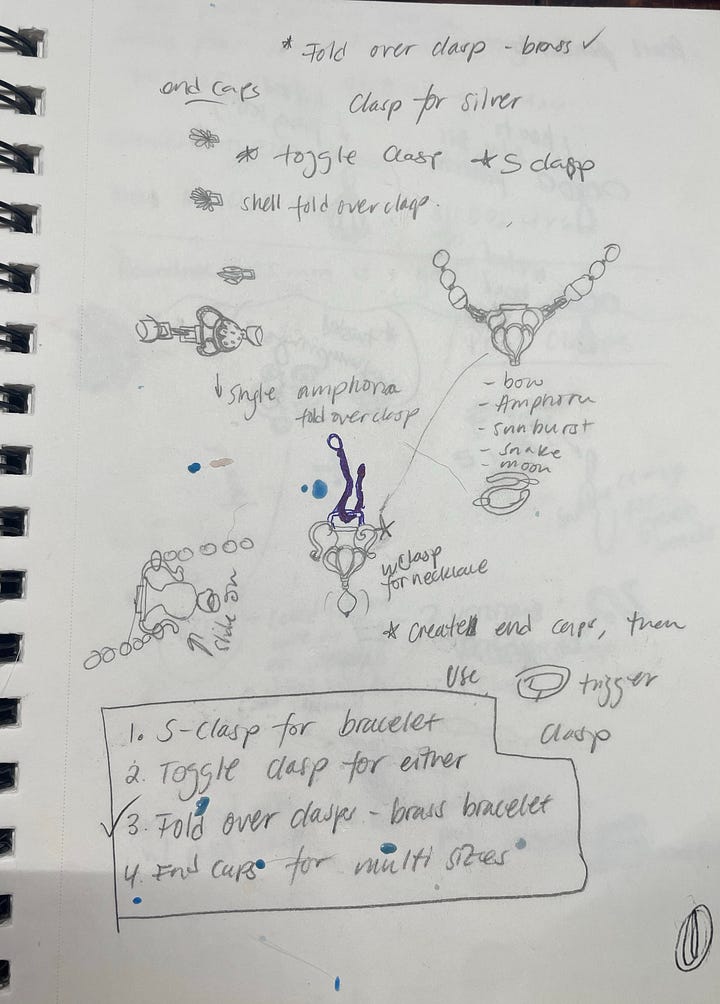
In school, they always taught us to come ready with a design to work from. It can be a simple, messy/loose sketch, or something more technical with exact specs. While I believe having a sketch is helpful, I’ve also created some of my favorite pieces by allowing the design to reveal itself through the process of creation and having fun experimenting directly with jewelry wax.

STEP-2: WAX CARVING OR 3-D MODELING
After you’ve finalized your design, it’s time to make it! There are two main ways to do this: Wax carving and 3-D modeling.
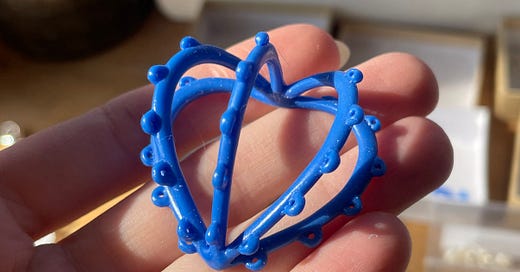
WAX CARVING: Wax carving is an ancient technique, approximately 6,500 years old. Sometimes you’ll see it referred to as ‘lost-wax casting’ (which I will explain in the casting section). Beeswax, tree resin, and tallow (animal fat) were all materials used in ancient times to make models for jewelry and sculptures.
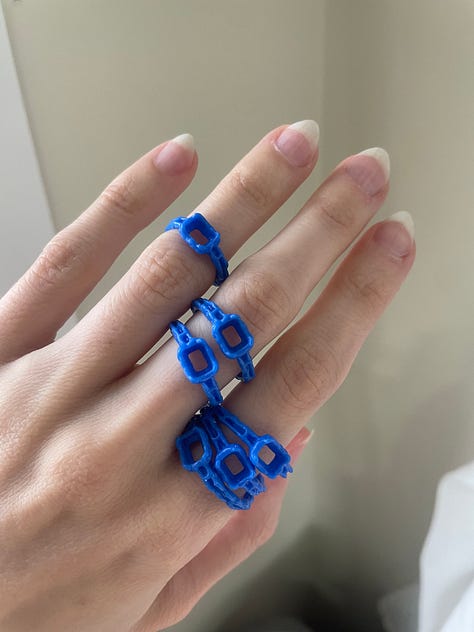
Today, there is a special type of jeweler’s wax that is used industry-wide and comes in varying hardnesses and shapes, like tubes for ease of making rings, sheets, wires, and blocks, to cater to your design and the level of detail you want to achieve.
Each type of wax has a color code that denotes carving hardness. For more free-form sculptural pieces, I recommend a softer wax, like purple, or for more finely detailed designs with edges, I recommend a harder wax, like green or blue.

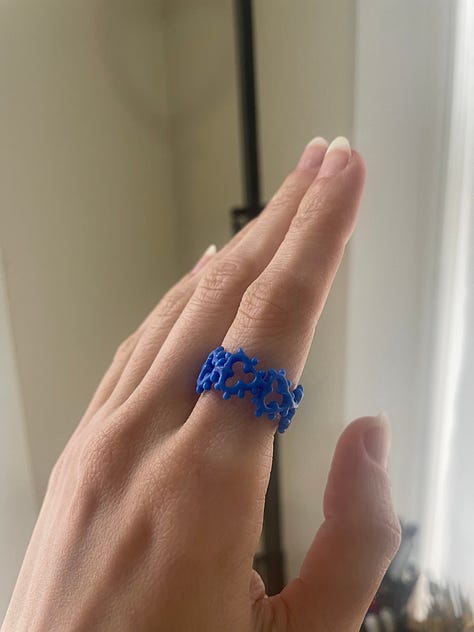
TOOLS FOR WAX CARVING
You’ll need: A set of wax carving tools, dental tools are a popular choice, a set of mini files, a larger wax-specific file, wax blades, a saw frame, a bench pin, a wax pen, or a more heavy-duty wax pen like this one. I’ve seen some people also use the ‘build-up’ method, which doesn’t typically require a bench pin or saw/sawframe, but you will need to have a ring mandrel.
Below is a video I made of myself carving the Verdun ring in wax.
3-D MODELING: You’ll need to have access to a program such as: Rhino, MatrixGold, Zbrush, or Blender (which is free). If you’re someone who loves being on a computer and doesn’t find it easy to work with your hands, this is a fantastic option. Once you can master one of these programs, you will be able to create stunningly detailed jewelry.
STEP-3: MOLD & CASTING
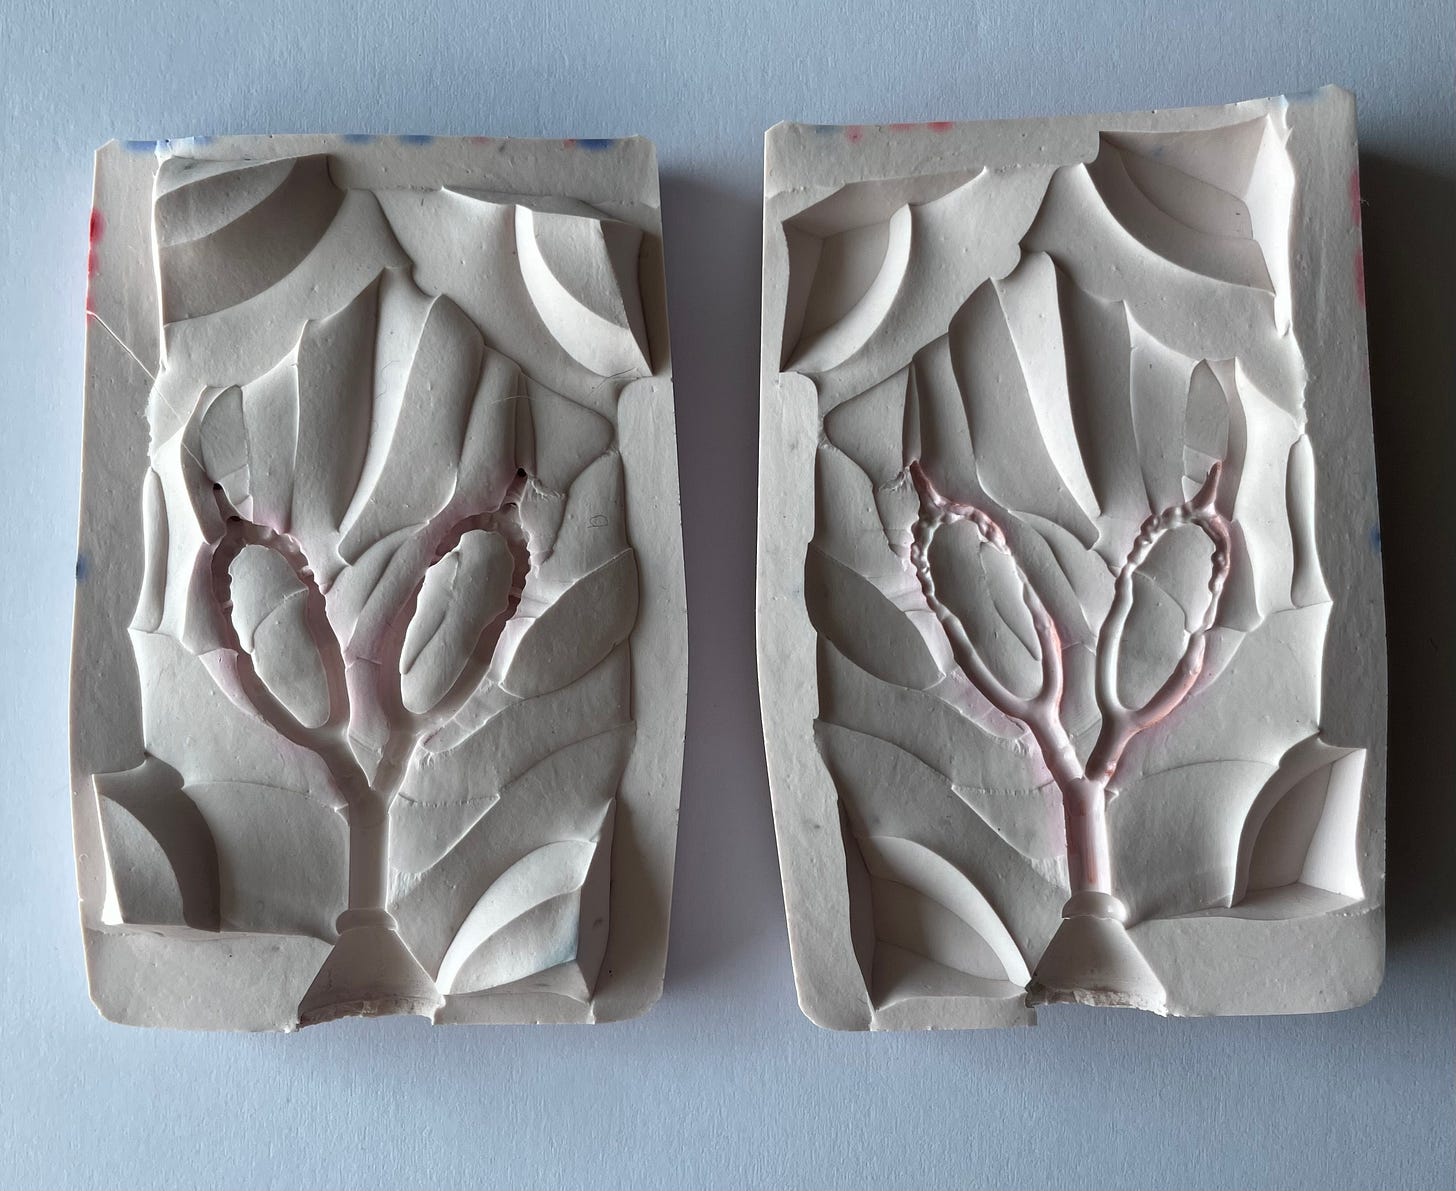
A mold is super important in jewelry making and is typically made of silicone or rubber. If you plan on recreating your jewelry, molds allow you to make an endless number of wax injections that you can then cast. I find it best to have them professionally made at the casting houses.
More info on molds and which order to make them in is also included in the paid version.
THE CASTING PROCESS
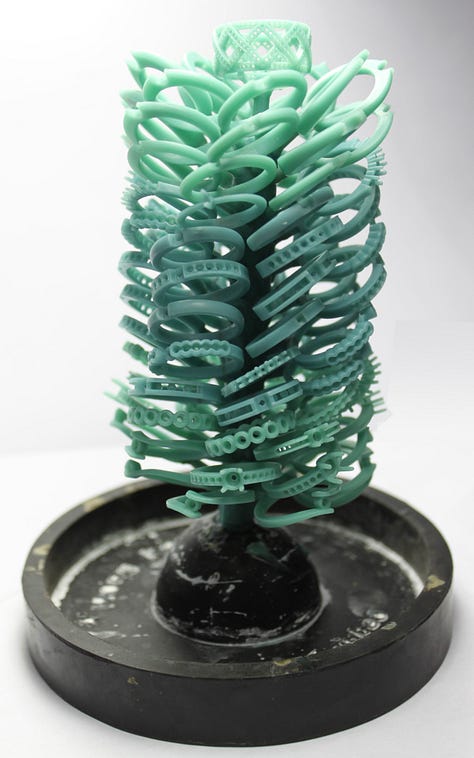
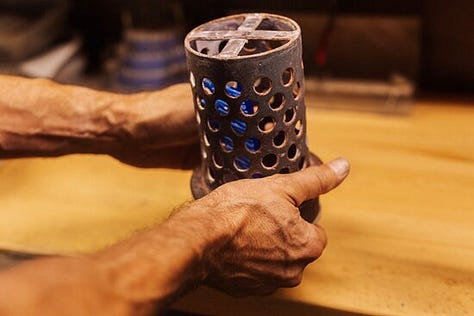
First your wax model is added to a ‘wax tree’ with other waxes (see image below). Next, a casting flask is added over the tree and then investment, a plaster-like material is poured in and hardens around the wax tree.
After the investment is added, air bubbles will need to be vacuumed out with a jewelry specific vacuum hood. Now the jewelry is reading for casting.
Next the flask is heated up so all the wax pours out of the bottom, then molten metal is poured into the now empty hole, filling the cavity left by the investment. This is why the technique is called ‘lost wax’ casting, since the wax is melted out, never to be used again.
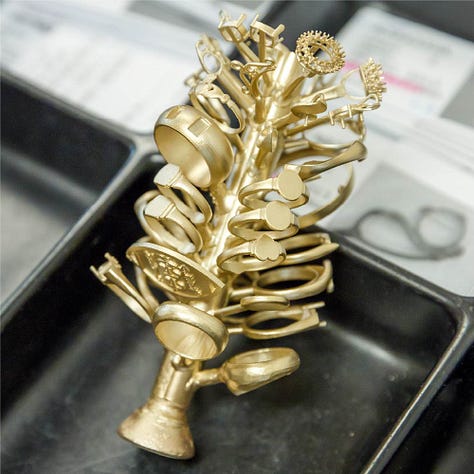
Once slightly cooled, the flask is dumped into water to dissolve the investment, and now you’re left with a fully cast tree in whichever metal you selected. Next the individual pieces are cut off with industrial cutters. This leaves something called a sprue on your piece that will need to be removed in the cleaning process.
STEP-4: CLEANING THE CASTING & PRE-POLISHING
Next comes filing and polishing your casting to achieve the level of shine desired. Using a jeweler’s saw you’ll need to take off the sprue, then use a series of files to smooth out the rough marks made by the saw blade. Then, you’ll use what’s called a flex-shaft, a dremel-like tool to further remove any scratches from the files.
I will explain further in the paid option the file numbers and types, along with sandpaper grits needed to pre-polish your jewelry. Below is a short video of me going through the post-cast cleaning process by sawing off sprues, filing, and sanding.
OPTIONAL STEP: SOLDERING
At this point you can solder anything that needs to be fused to your piece.
OPTIONAL STEP: STONE SETTING
If you have stones to set in your piece you can set them after the initial sawing, filing, and sanding right before the final polish. There is also an option to cast your stones in place, but that is a more advanced technique to explain for a later time.
STEP-5: POLISHING
Once you’ve sanded out the scratches, soldered any pieces together, and set your stones, now comes the polishing process. There are multiple types of polishing ends you can add to your flex-shaft or dremel tool to achieve a high shine, which I expand on in the paid version.
And that’s it! Now you have a finished piece of jewelry.


Thanks for reading 💕

